
diff options
Diffstat (limited to 'BUILD.md')
| -rw-r--r-- | BUILD.md | 31 |
1 files changed, 31 insertions, 0 deletions
diff --git a/BUILD.md b/BUILD.md new file mode 100644 index 00000000..75f824bd --- /dev/null +++ b/BUILD.md @@ -0,0 +1,31 @@ +# Build Instructions +The following steps will allow you to compile your own NorthstarLauncher executable from the code in this repository. If you still have questions, you may ask in the [Discord Server](https://discord.gg/r2northstar) + +*This guide assumes you have already installed Northstar as shown in [this page](https://github.com/R2Northstar/Northstar/wiki/Basic-Setup)* + +### Steps +1. **Download the code** from the [R2Northstar/NorthstarLauncher](https://github.com/R2Northstar/NorthstarLauncher) repo +2. **Unzip the file.** +3. **Place the file somewhere memorable,** such as in your Documents directory +4. **Install Visual Studio 2022** from [this link](https://visualstudio.microsoft.com/downloads/). Northstar uses the vc2022 compiler, which is provided with Visual Studio. *You only need to download the Community edition.* +5. If you are prompted to download Workloads, check "Desktop Development with C++" If you are not prompted, don't worry, you'll be able to install this later on as well. + +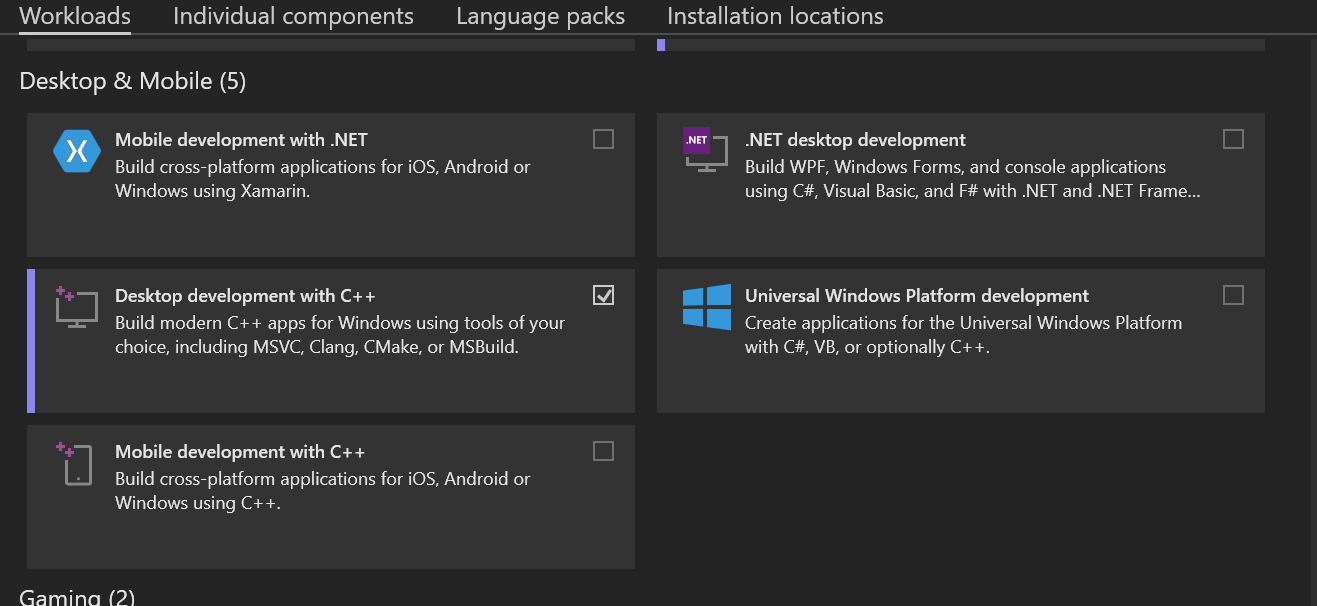 + +6. **Open the NorthstarLauncher folder** you unzipped with Visual Studio. A tab should open on the right hand side titled "Solution Explorer." + + + +This is a good time to edit the code. From the Solution Explorer, you can find any file you want to modify and do so. Don't forget to save your changes. + +7. **Double click on R2Northstar.sln** in the Solution Explorer. If you have not installed the Desktop Development Workload, you might be prompted now. If everything is correct, the Solution Explorer should change to two files: Northstar and NorthstarLauncher +8. In the top ribbon, press on **Build,** then **Build Solution.** + + + +9. Wait for your build to finish. You can check on its status from the Output tab at the bottom +10. Once your build is finished, **Open the directory in File Explorer.** Then, go to x86 > Debug. You should see NorthstarLauncher.exe and Northstar.dll, as well as a couple other files. +11. **_In your Titanfall2 directory_**, move the preexisting NorthstarLauncher.exe and Northstar.dll into a new folder. You'll want to keep the default launcher backed up before testing any changes. +12. Back in the build debug directory, **Move NorthstarLauncher.exe and Northstar.dll to your Titanfall2 folder.** + +If everything is correct, you should now be able to launch the Northstar client with your changes applied. |